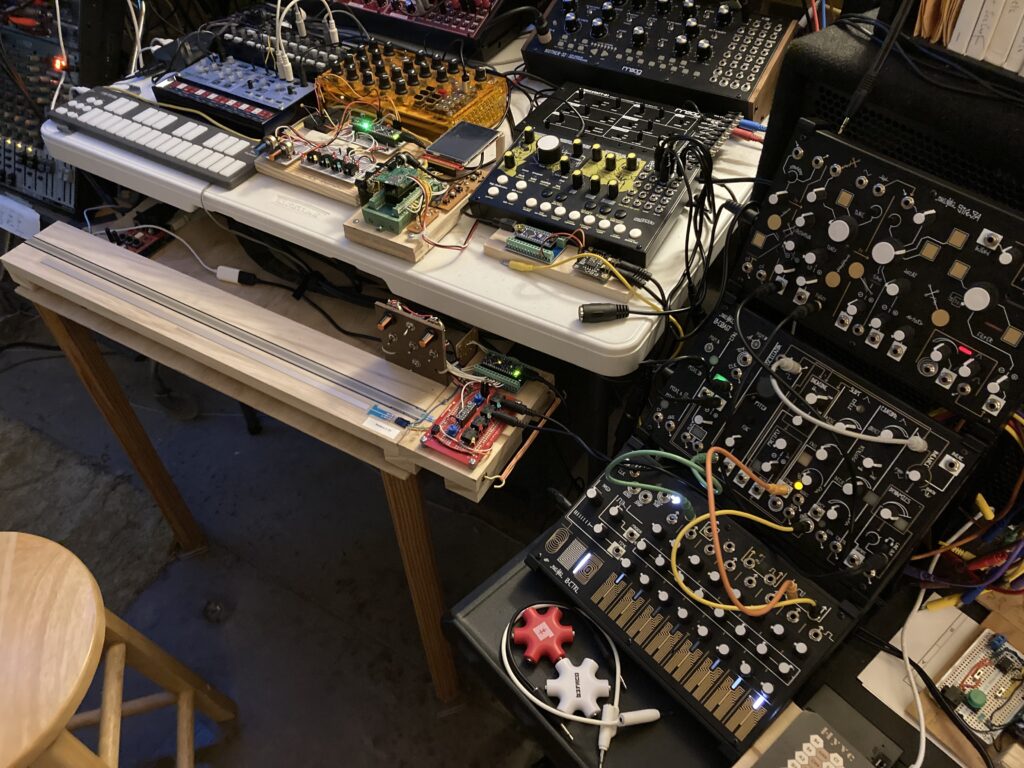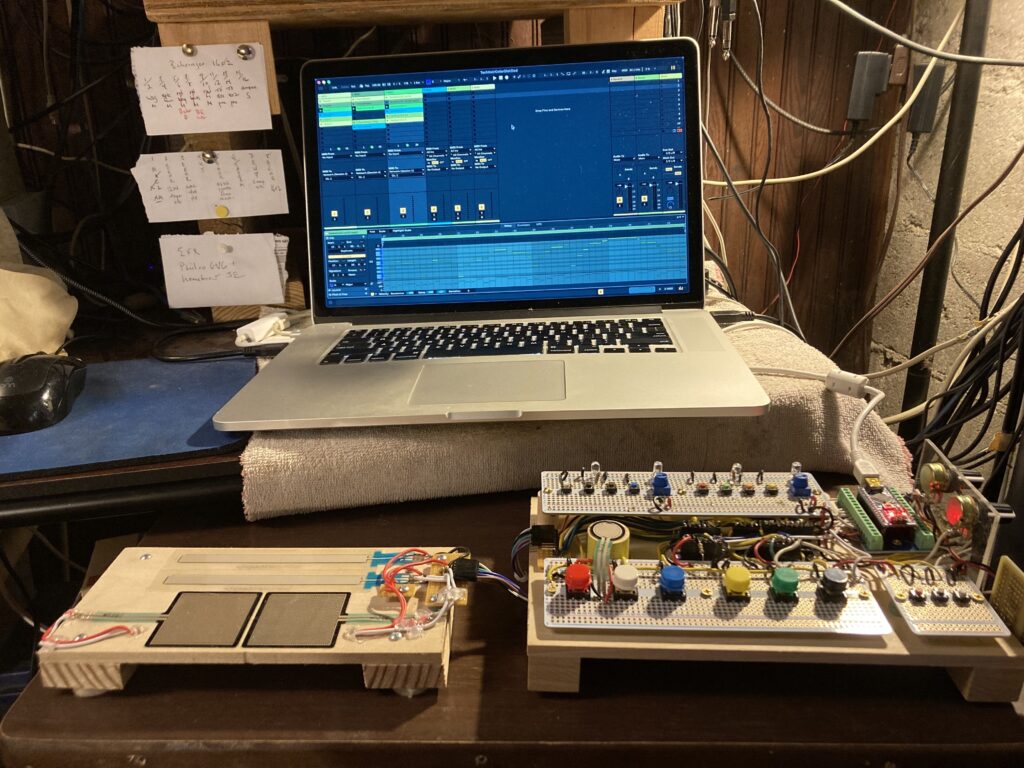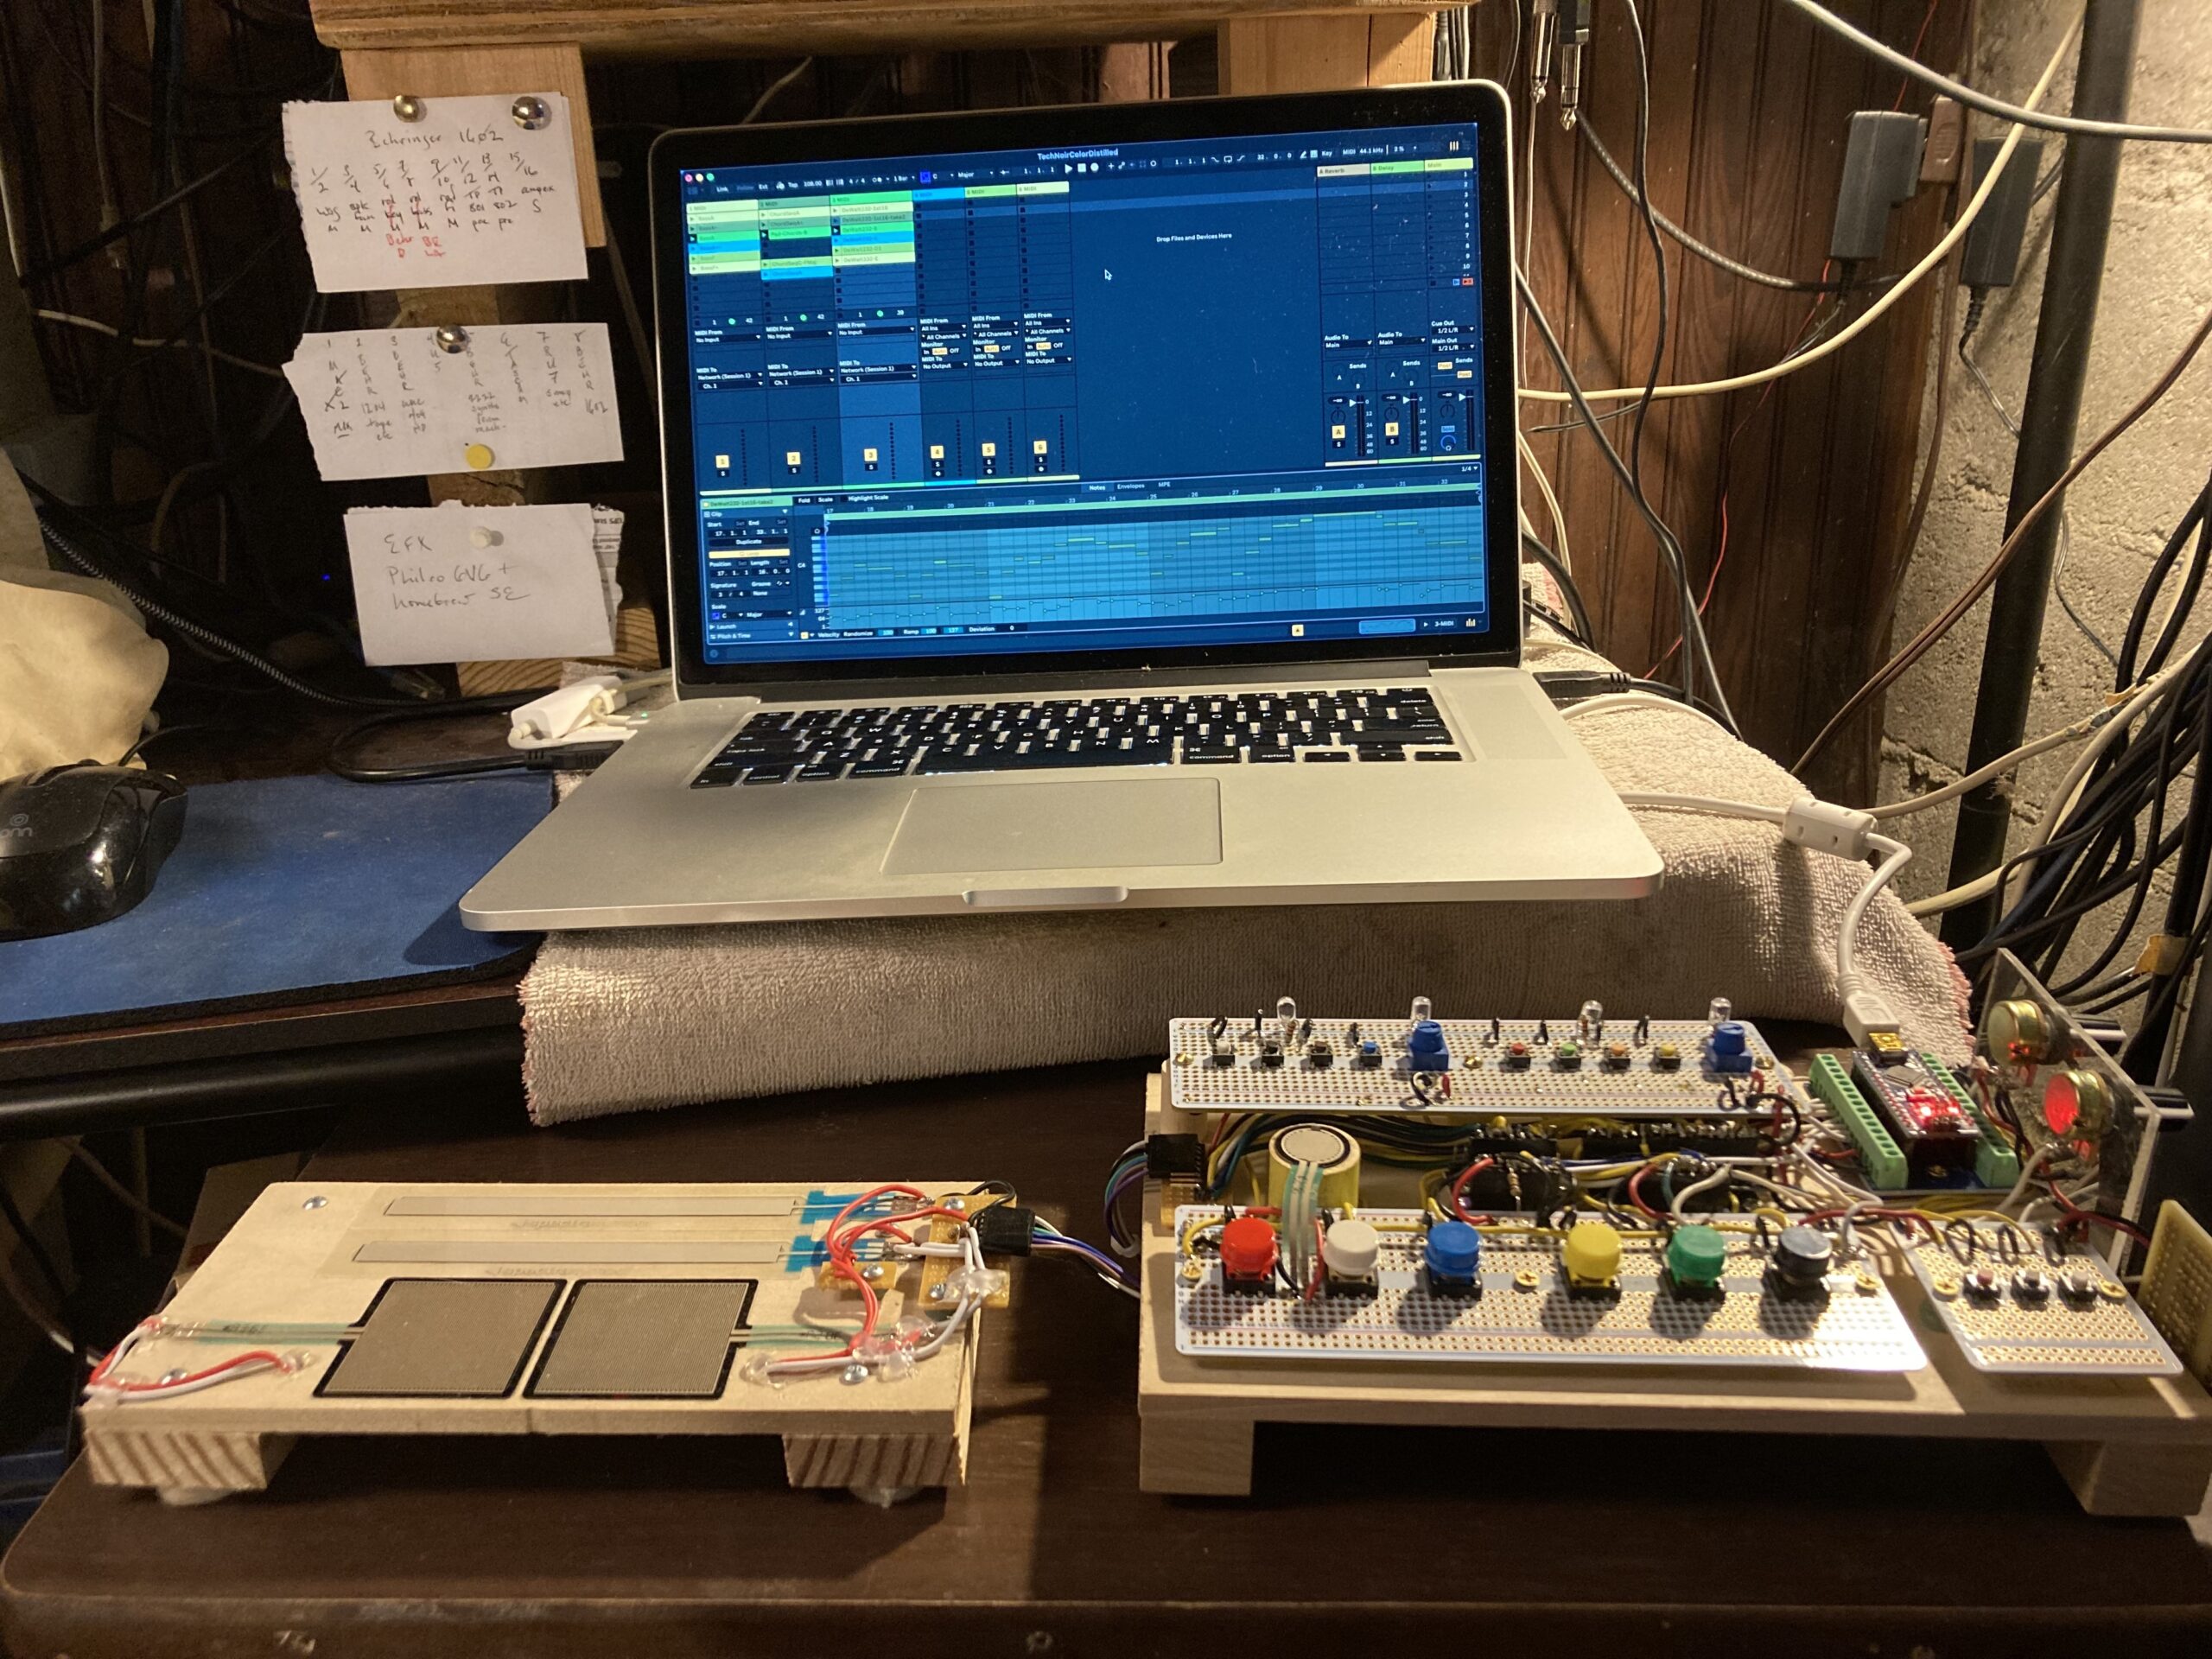
I had four controllers that I had made and programmed with my own hands and brain. Now I had to make some music with them. Any of my musical or technological mentors would be nodding, stroking beard or cat, and saying “absolutely!”
I began with a bunch of toots and snorts, audio and MIDI snippets that I collected as data on various personal computers. The Macintosh museum. I ended up preparing the results for preservation and distribution in various media. Between beginning and ending up, my thoughts went along for the ride and occasionally a verbal obsession would take over for a few days.
One such ‘thought’ was that in pieces (of music, but also…) that are in some way static, exhibit stasis, or have a spell of… repetition… ‘repetitivity’… one is, if not put off, that is, still paying attention… waiting for…
It. Something. Change.
‘Waiting for it’ invites ‘pushback.’ These are ‘buzzing beetle words,’ but they go way back. There used to be a sign in a barbershop window… “No Waiting.” Somehow it morphed around to something we music students were aware of, perhaps the musicians version of the ‘no manifesto.’ We wants our changes, and we wants ’em now!
So I had all of these bits. Any of ’em could be part of something; am I a drone? Put me to work. Instead, though, I began by letting the hardware inform me, while I explored the most tactile elements of the controllers. I started with the Rhybbon 1: Force and Ribbon sensors mapped to velocity and pitch. The three big buttons mapped to drums on channel 10. Switches control various features in the software. I began with the Max patch that turns all this data into MIDI. And, then, of course, moved on to Ableton Live. Live recognizes the Rhybbon 1 as ‘pro micro,’ and its features are easily mapped to the transport and instruments in use. This was my first outing in version 12, and, in fact, I also used both version 11, as well as one of the 12 betas. So cutting and pasting between Live sets was tricky. MIDI files were exported. Lots of cutting and pasting.
The Rhybbon 1 has three large arcade-style buttons. The buttons could be mapped to any desired control. The beauty of making one’s own controller with Arduino, or any other similar microcontroller on a board, is that it can be programmed. Also: the curse; it must be programmed. I programmed it to send MIDI note data when those big buttons are pressed, one pitch on channel 10 for each. I used this to make beats with a drum rack in Live. Once I had a beat, it seemed natural to grab the uke and get chukkin,’ “Over the Rainbow” à la Israel Kamakawiwo’ole – style. I recorded the uke as I played along with the beats. It was shaping up to be a one chord tune. I was looking for the lost chord on the uke. Found a couple.
With that as a basis, I jammed on the ribbon and force sensors, which, on the Rhybbon 1, are superimposed on the ‘neck.’ See photo. The interesting thing about the approach is that in this instance, the sensor data are mapped in the code on the Arduino to a specific range of MIDI notes with specified channels, and the force sensor is similarly mapped to a note velocity range. Thus, though ‘fretless,’ location of the finger on the ribbon yields a particular pitch. Low to high is left to right, in the manner of a piano. It is, of course, monophonic. One note at a time.
I was this able to play a static bass line, and also make florid lines without effort. Imagination to effect is instantaneous. No waiting. The resulting jam… got some looping and shaping in Live. The shape is played out over the duration of the piece, forcing the listener to … wait for it. No, wait! I see your swiping finger on that obsidian devil!
Stasis results inevitably … in waiting. Such is the focus of the second piece in the suite, Easel Does It. The idea here was to explore the three instruments which make up the ‘Make Noise Easel,’ the Strega, the 0-Control, and the 0-Coast by the instrument maker Make Noise. Calling these three modules an ‘Easel’ is an in joke; there was an East Coast synth school, represented by Moog. Then there was Buchla, on the West Coast. Buchla’s famous synth was called the Easel. Still available, sort of. Sought after used. But the Make Noise approach mashes up features of both ‘coasts’ synthesis methods. In any event, there are plenty of places to plug control voltages into these modules. The Rhybbon 2 was designed for just that. Control voltages are generated by pots, a force sensor, and a separate ribbon sensor. The Strega is very good at generating drones, and when fed voltages, the drones can shift in exotic ways. The 0-Control module is good at pumping out sequences of gates, voltages, and can be triggered by voltages and gates. Of the endless possibilities, I called up a ragged accelerating bass line and … wait for it… used that as a foundation for that which we wait.
Life is what happens… while you are waiting. DeWalt, that fountain of material, is still posting a daily lead sheet on Substack. I happened sometime in late August, 2024, upon number 232, An Inconvenience. At that point, I had the two pieces described completed and formed in mind a plan to make a ‘four movement work,’ like a symphony. I might have thought of Schubert, whose two movement work is called “unfinished.” Not called that by Schubert, mind you. So I had an ‘allegro’ and an ‘adagio,’ but needed now a scherzo and/or a minuet, and then… a rondo finale? I also had two more controllers. Both were suited to playing a limited range of specific pitches, sending control data, and starting a transport. I would use them to mix and track in Ableton. The controllers map up easily, though, as noted, “Just 17” requires Hairless Midi to communicate with Live via the IAC driver (on Mac OS). I did a bit of fourth chord jamming into Live from the keyboard of the Keylab 88. Then I discovered on or around the 19th of August that Phil had posted the perfect theme for some, uh, scherzoid variations. I began by sight reading at the Keylab 88, improvising where I went wrong. Then I did the same with the chord changes, playing in chorale style. I found the harmonies haunting all by themselves, and let them have plenty of space in the arrangement. I wanted to get the animoog, an iOS app, involved, so I networked the midi to an iPad, and recorded the Animoog as audio. For this mundane chore, I used my handy-dandy Tascam 2 track. These tracks end the rumination of Tech-no-Color. Rough mixing was done with the ‘Just 17’ controller, little more than ballpark fader positions. Then I slaved over a specific mixer with Live 12 automation.

The moment we’ve been waiting for: the end. I had one more controller left to explore. The “Jailbait 15” is easy to use in Live. It is ‘class compliant,’ with an Arduino Micro controller. The Micro’s ATmega32U4 shows up in Live’s controller lists as ‘Arduino Micro.’ It was easy to map it to elements in the arrangement for live mixing. The body of the piece, an ostinato ‘boogie bass’ as only a sequencer could or would do it, was played on the sequencer and voice of the Moog Mother-32. On top of this, I played the Rhybbon 2 live into a limited run device from Decade Bridge the “Sn (tin).” I had been working with drones, and when I saw the ad in Etsy for this thing, I went for it. It took most of the time I was working on TechNoColor to arrive. It proved to be great at nasty sounds and perfectly responsive to control voltages put out by the Rhybbon 2. All of this material was recorded into Live tracks, cleaned up and experimented with in Clip view, and then assembled into a piece of music in the Arrangement view. I played the synth lead on the Keylab 88 live, along with the backing tracks that were far enough along to jam with. There is, if you wait for it, a break in the action at the ‘golden mean’ of the piece. It’s at 3:24 of a total duration of 6:31.
A note about playback formats. The audio files are in one of two formats: WAV (Waveform Audio File Format) 44.1 kHz, 24 bit, and WAV 44.1 kHz, 16 bit. These are the types that are here at kenbeck.bandcamp.com. I also wanted to copy the work onto several other historical formats. These are: CD (ie., CD-R), 1/4 inch 1/4 track stereo reel to reel tape, 1/4 inch 1/2 track mono tape, and, in shortened form, 10 inch dub plate. I”ll also make a polycarbonate disc when I get done sorting out problems with my disk cutting rig. (Separate blog post, most likely.)
