(part the second)
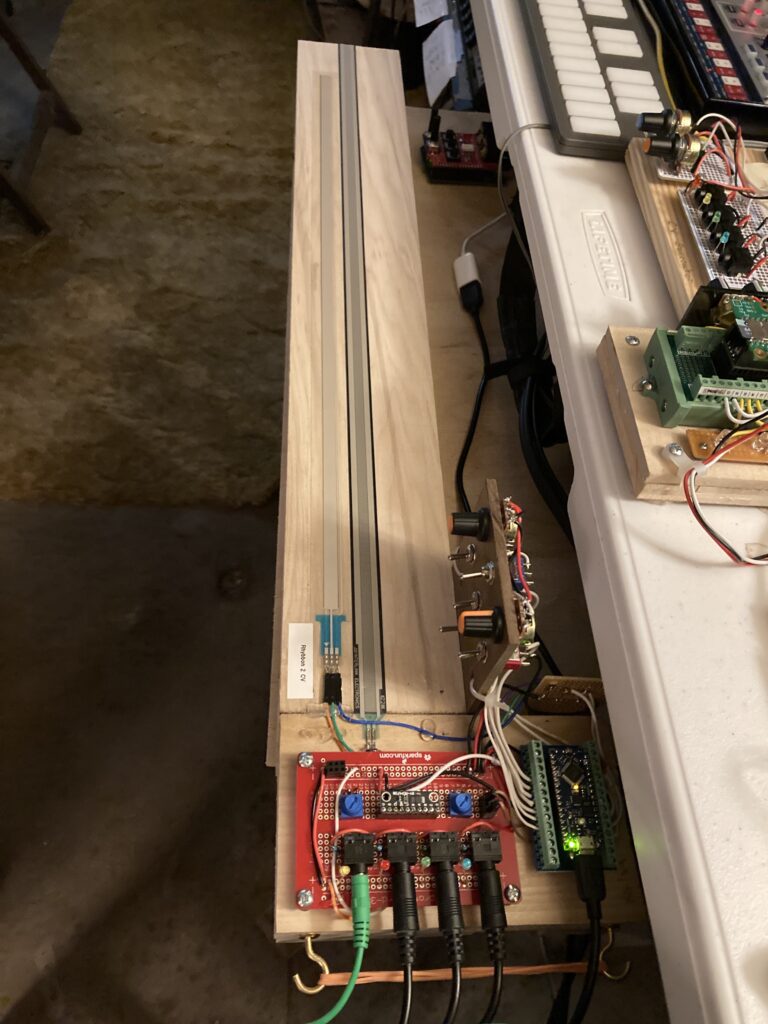
After spending a bit of time with the Rhybbon 1, I decided that I needed to try a second one. The first thing I noticed was that the ProMicro seemed to prefer being connected to a computer. Powered by a five volt external supply, without a data connection, it didn’t perform as intended. Ultimately, this proved to be a programming issue rather than a power issue. There were, however, other irritations. Most proved to be programming problems, but… I thought I’d asked it to do too much at once. I could get the MIDI DIN to function, but then CV didn’t work. It was a bit too long to use in the space occupied by my collection of CV controlled devices. Why not design and build one that fit?
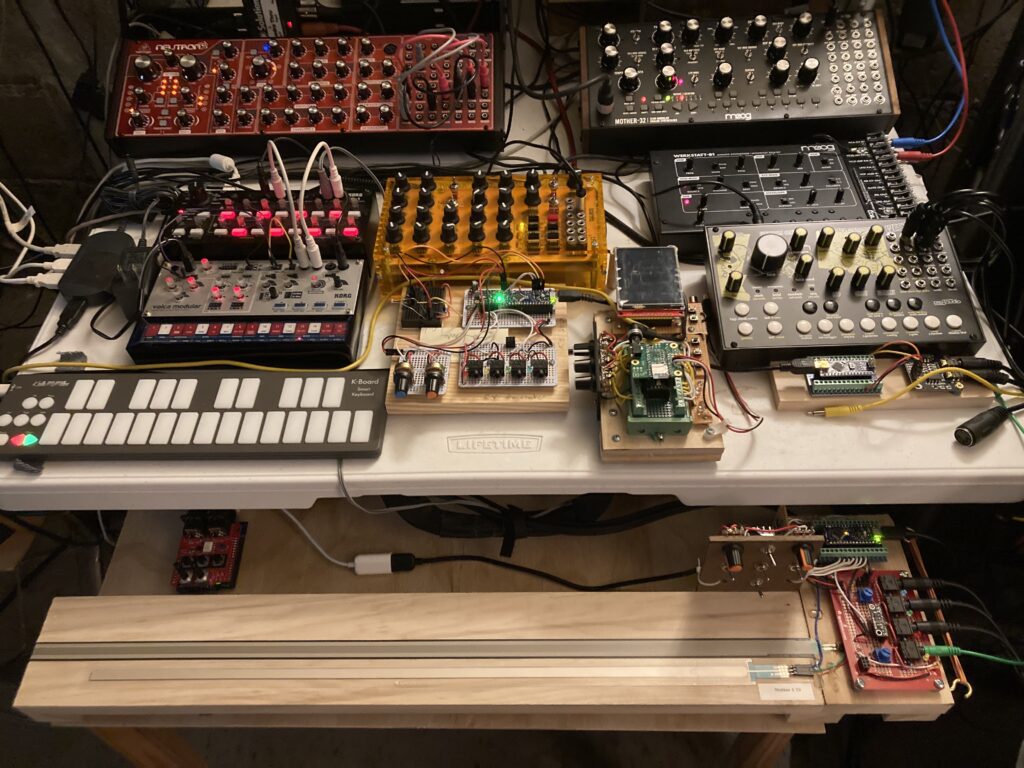
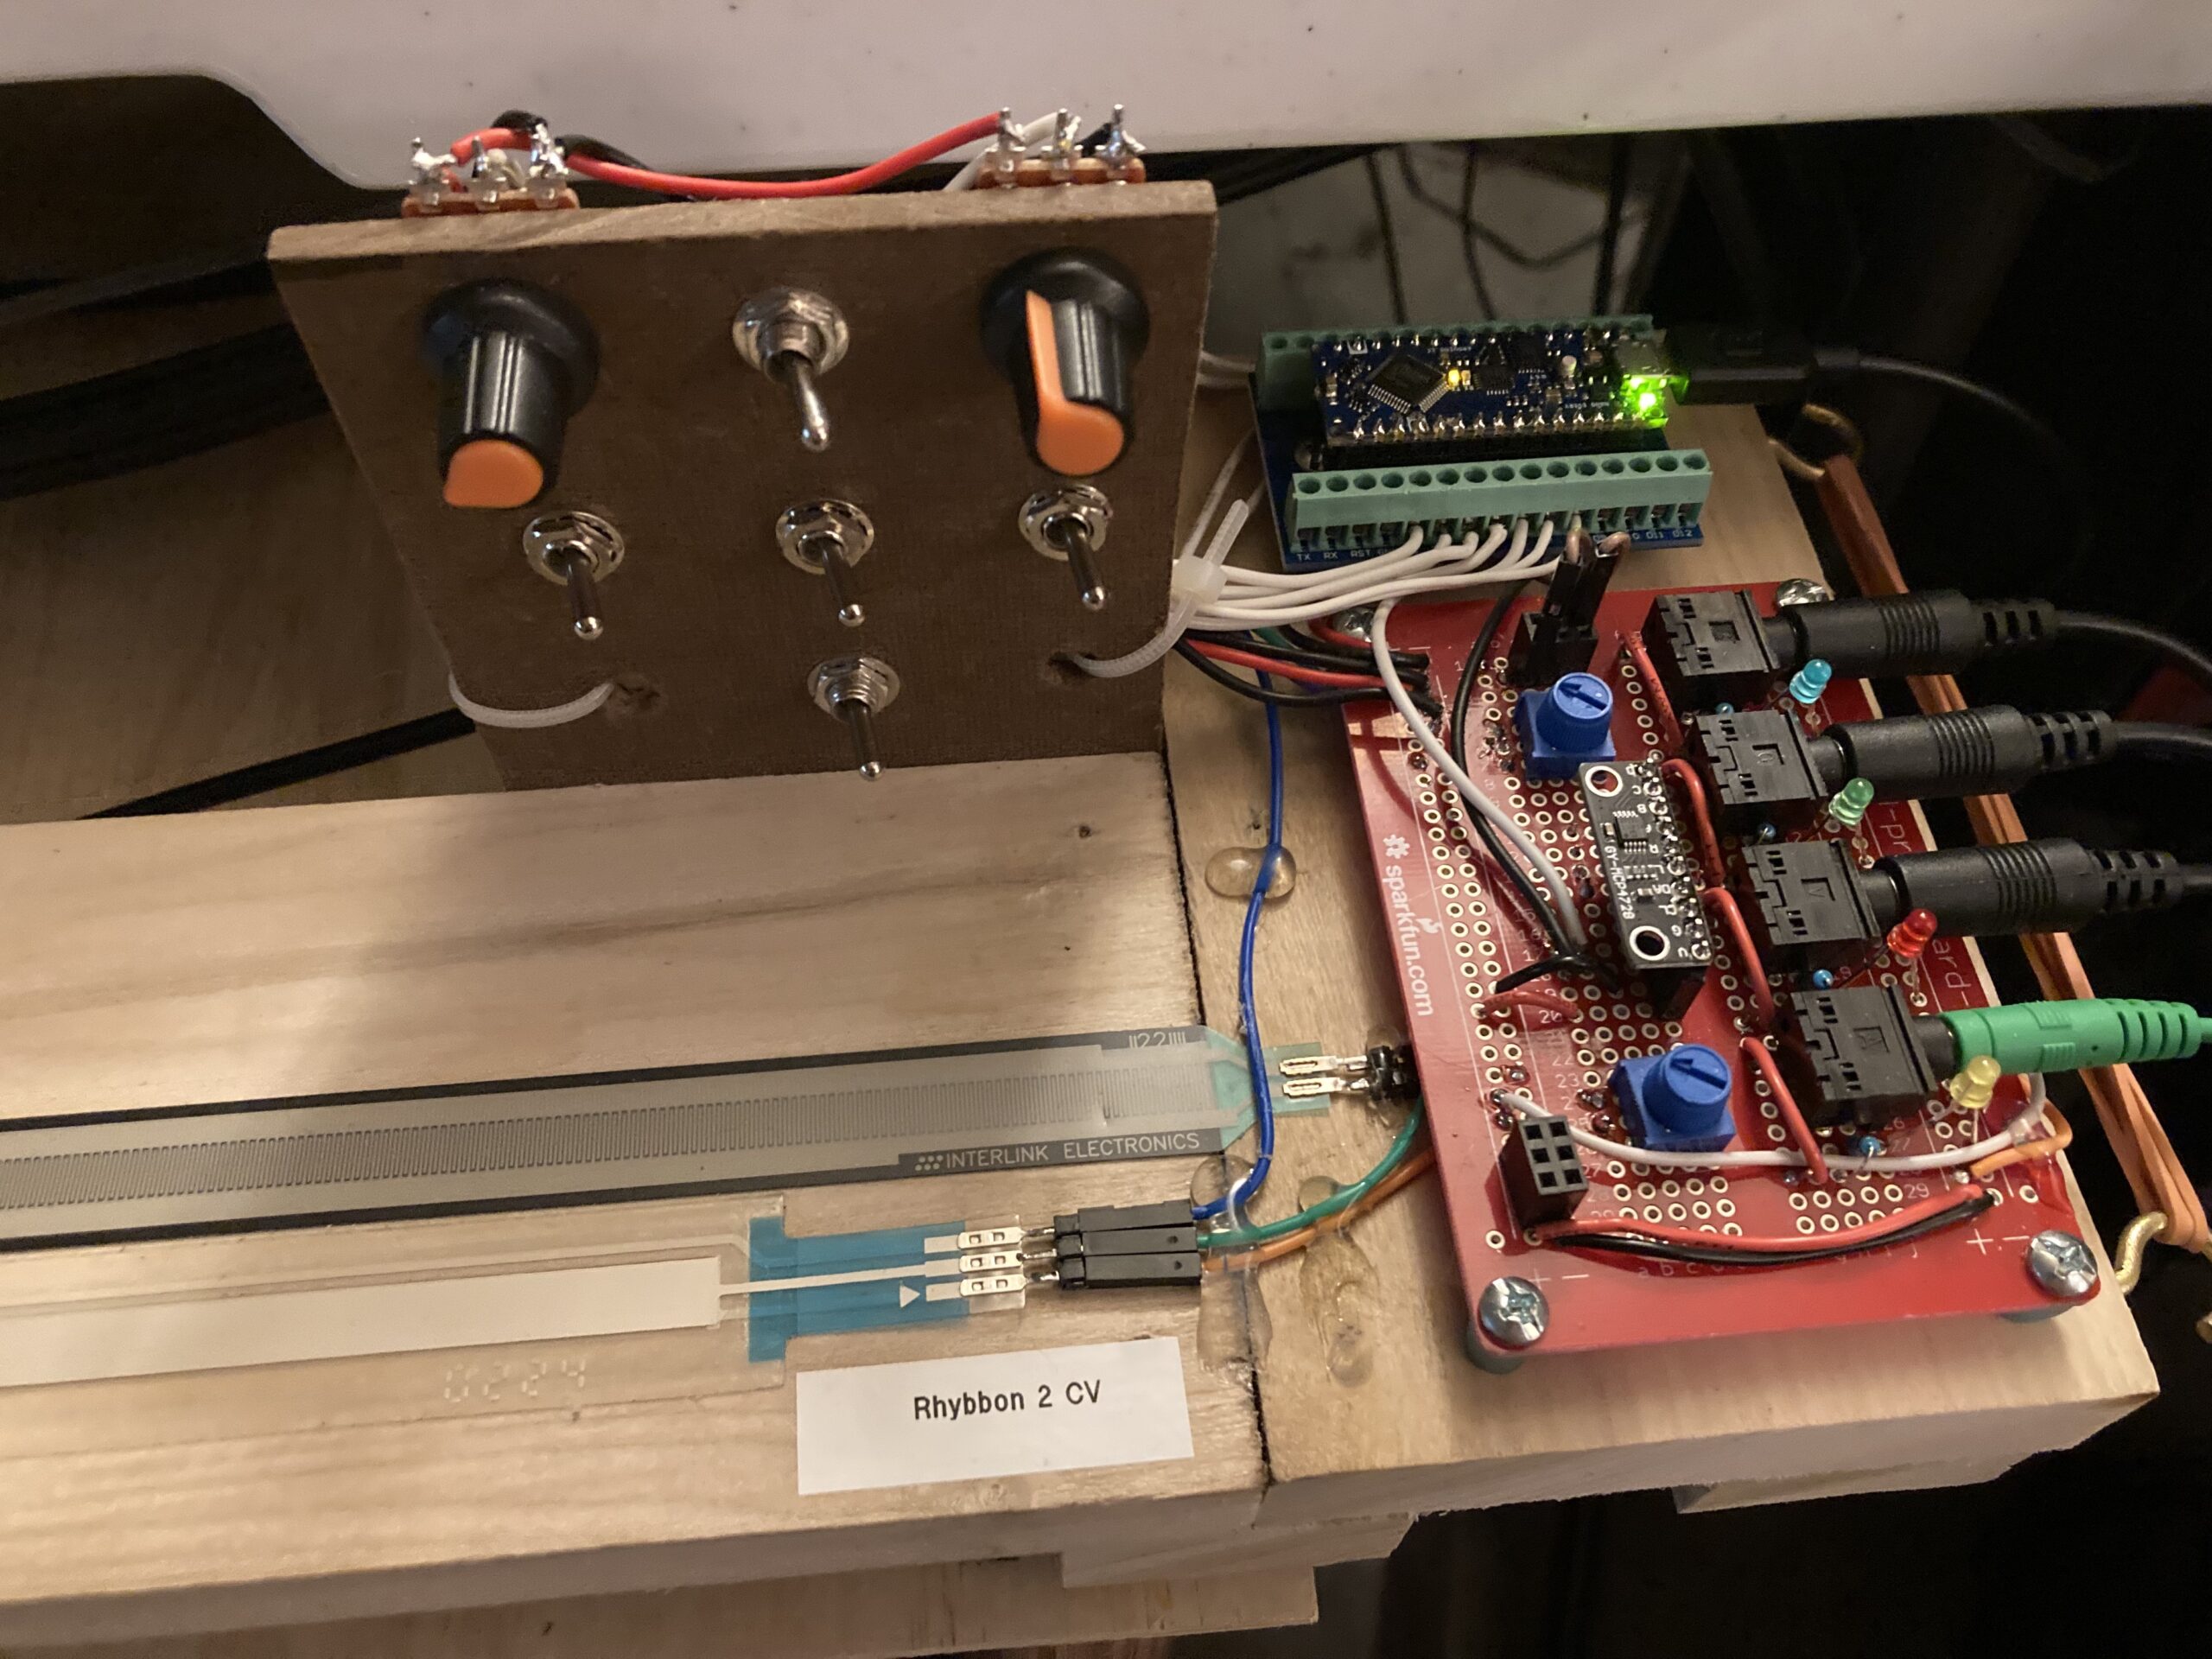
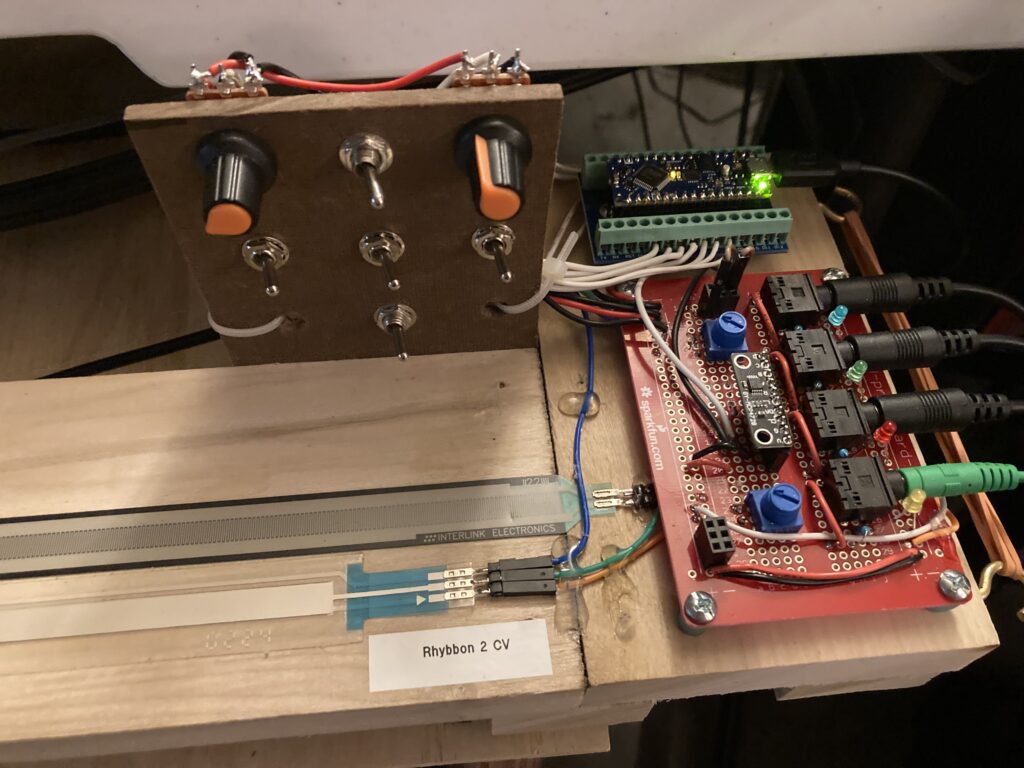
With all of this in mind, I built a second edition using the Arduino Nano as a microcontroller. The Nano has an ATmega328 brain, as opposed to the ProMicro‘s ATmega32U4. The 32U4 is MIDI class compliant, having a serial daughter board to handle this protocol. To do such MIDI tricks with a Nano, there’s the revised for current Mac OS (2024 Sonoma) version of good old Hairless MIDI. The problems are described here, but I have it working on Sonoma 14.5. My objective, though, was not to focus on MIDI, but rather on CV.
Note that the FSR is separated from the SoftPot in this build. The SoftPot is in the foreground and behind it, the FSR. It is not difficult at all to play with two hands, or one finger extended across both membranes.
The remaining features: four pots, (two on the solderable breadboard … that’s the red board to the right), and two (with orange knobs) on the switch panel. There are 5 switches. All switches are DPST, so each pole can give a different function. We are up against the number of digital inputs on the Nano. I didn’t get into using a multiplexer until later… LEDs, on the breadboard, light up with the CV output. The MPC428 12 bit DAC is also on the breadboard. It’s the cheap Chinese version.
After all of the above were up and running, I discovered Gustavo Sliviera and took his course as a paid subscriber. Here’s the nerd musician on youtube.
The Silviera experience resulted in two controllers. I began with a series of traditional solderless breadboards to work out the concepts. I went down two separate paths, depending on the microcontroller. The goal was, in both cases, a MIDI controller that could be mapped to external software, such as Ableton Live, Logic Pro, and/or Max MSP. I’ll describe them in turn.
In general, I was drawn to Silviera’s approach because his code used arrays and tabs as streamlining and organizational methods. I had not explored these programming strategies, and was eager to learn about them. In addition, he focused strictly on MIDI output, and did not stray into raw serial over USB. His MIDI implementation is over USB, though he does touch on the MIDI DIN interface briefly. Finally, he employs a wide range of hardware: in addition to pots and buttons, he broaches the use of multiplexers to enhance the Arduino pin count, touches on other sensors already on hand such as FSRs and SoftPots, and has a section on using encoders. There are others in his complete project, but these were the ones I had space to employ on the controllers I made.
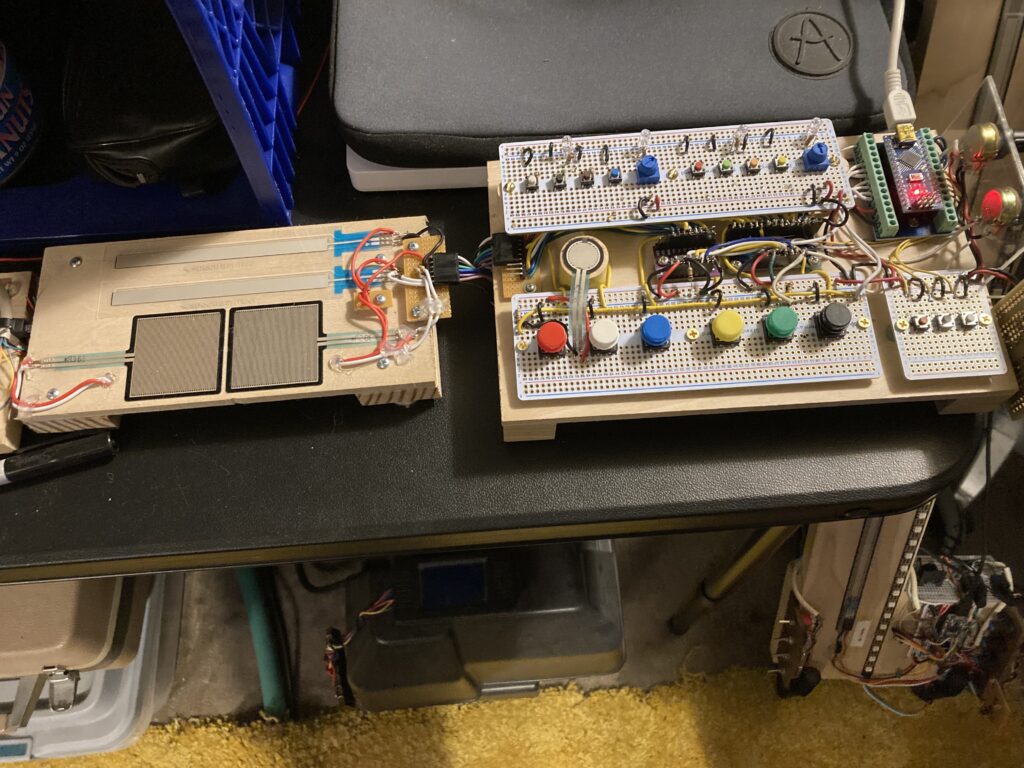
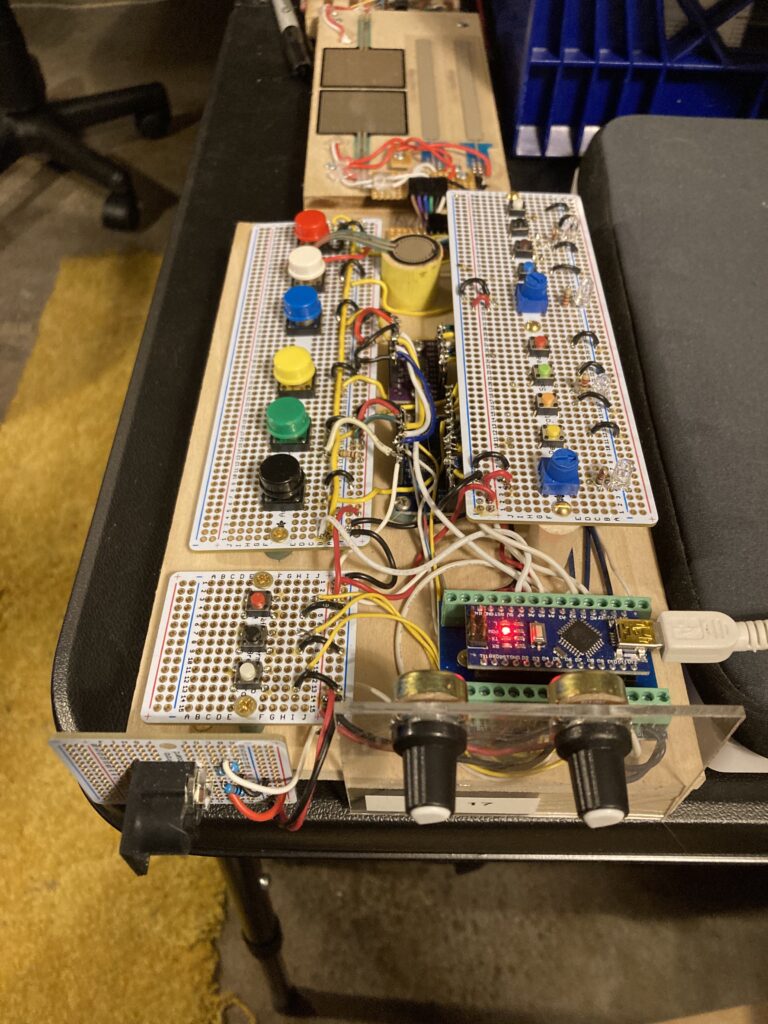
The controller above, and pictured below from a different angle, was dubbed “Just 17,” because it originally was planned to have, and indeed, ended up with, seventeen buttons. It ended up with a sub-board (to the left) with a pair of FSRs, and a pair of SoftPots. I had room for a small, disc shaped FSR on the main board as well. It has a MIDI DIN out port. There is are four LEDs along the upper board that respond to incoming MIDI note numbers, selected in the sketch. The microprocessor is the Arduino Nano, and can be swapped out with the Nano Every, which shares the same pinout. Because the Nano is Atmega 328p, Hairless MIDI must be used for serial MIDI communication. The Nano Every sports an Atmega 4809, and has a more robust feature set. There is room to grow, therefore, with alternative programming.
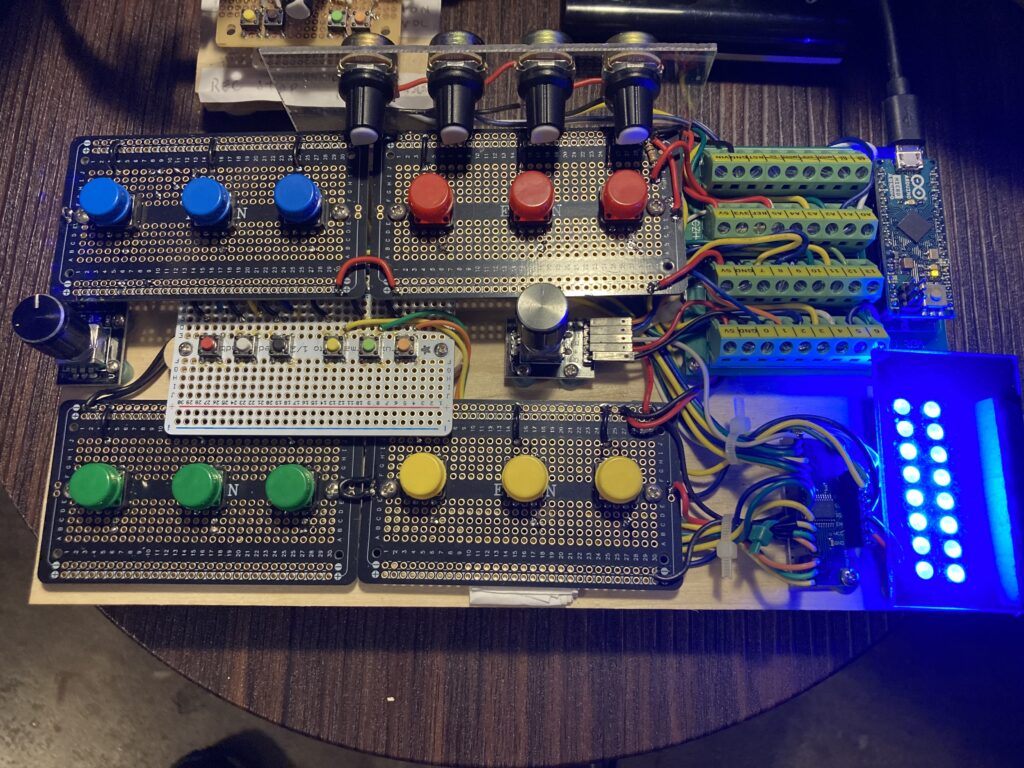
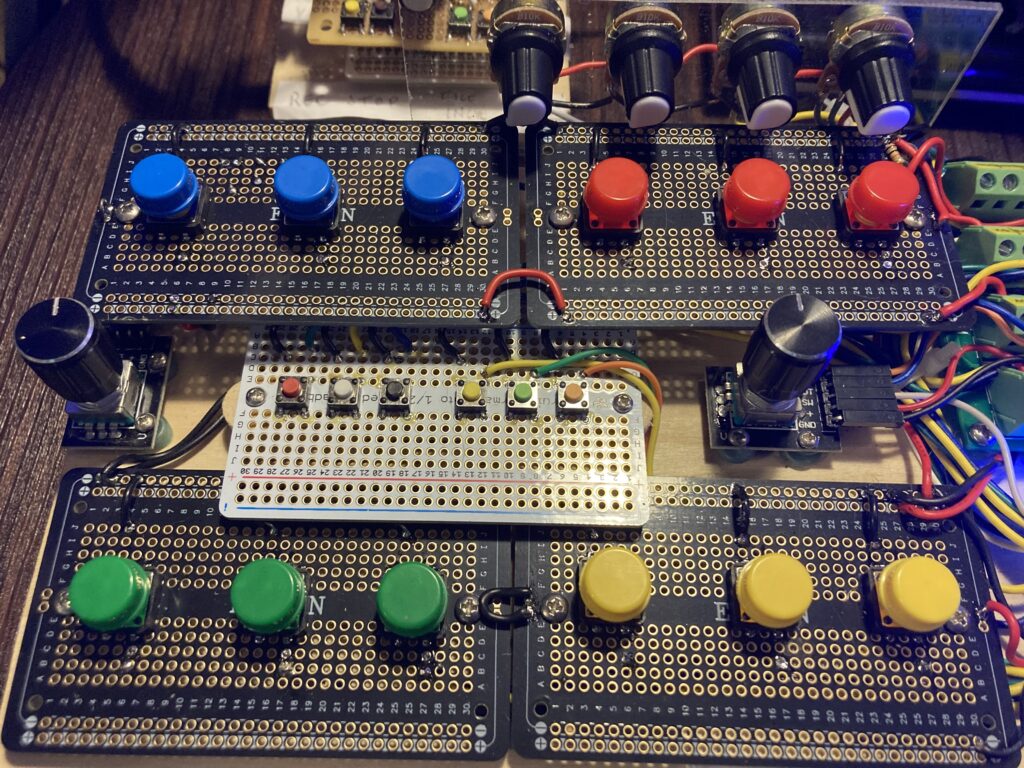
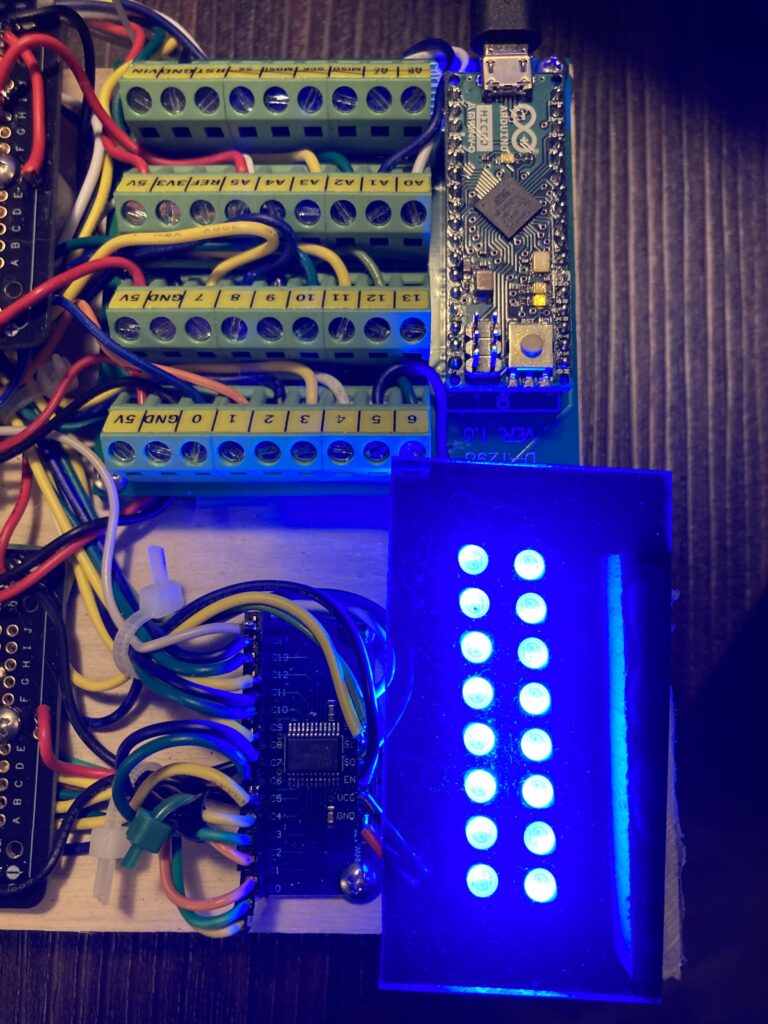
Below, the “Jailbait 15.” I might have had just 15 buttons in mind, but ended up with 18. Also: four ‘big’ pots with knobs, two encoders with push switches, and a neopixel array that implements Silviera’s menu system, at least in part.
The controllers work well enough, but there is always room for improvements and fresh sketches on the Arduinos. But let’s get down to making some music with these things!
